
Tables
The Tables panel lets you create, configure, rename and delete data tables. Open it from Config → Tables.
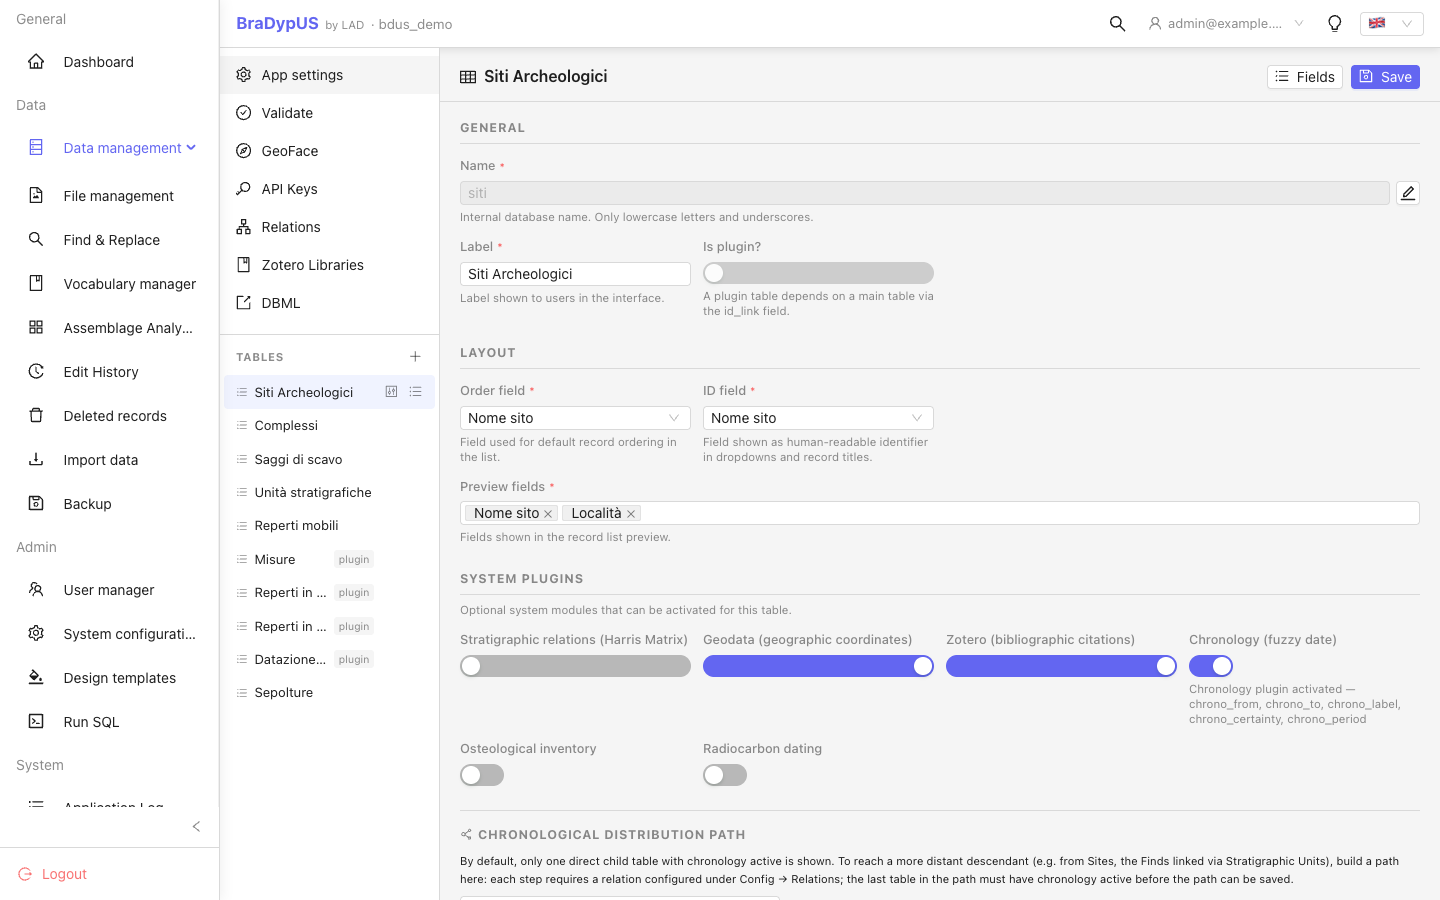
Creating a table
Click Add table at the bottom of the table list. Fill in:
| Field | Description |
|---|---|
| Name | Internal slug (lowercase letters, digits and underscores; e.g. sites) |
| Label | Display name shown in the UI (e.g. Sites) |
| Is plugin | Enable if this table is a sub-table attached to a parent (e.g. finds attached to contexts) |
After saving, the new table appears in the list and a corresponding DB column is created automatically.
Table settings
Select a table to edit its settings:
| Field | Description |
|---|---|
| Label | Display name |
| Order field | Default sort column (e.g. id or date) |
| Preview fields | Columns shown in the record list (also used by fast search) — pick them from the dropdown, then drag the chips below to set their order |
| Plugin tables | Sub-tables attached inline inside RecordView |
| Backlink tables | Tables that reference this table; shown as a read-only panel in RecordView |
| Cross-table links | Tables whose records can be manually linked to records of this table |
| RS field | Enable the Harris Matrix for this table; set to the field that stores the stratigraphic unit identifier |
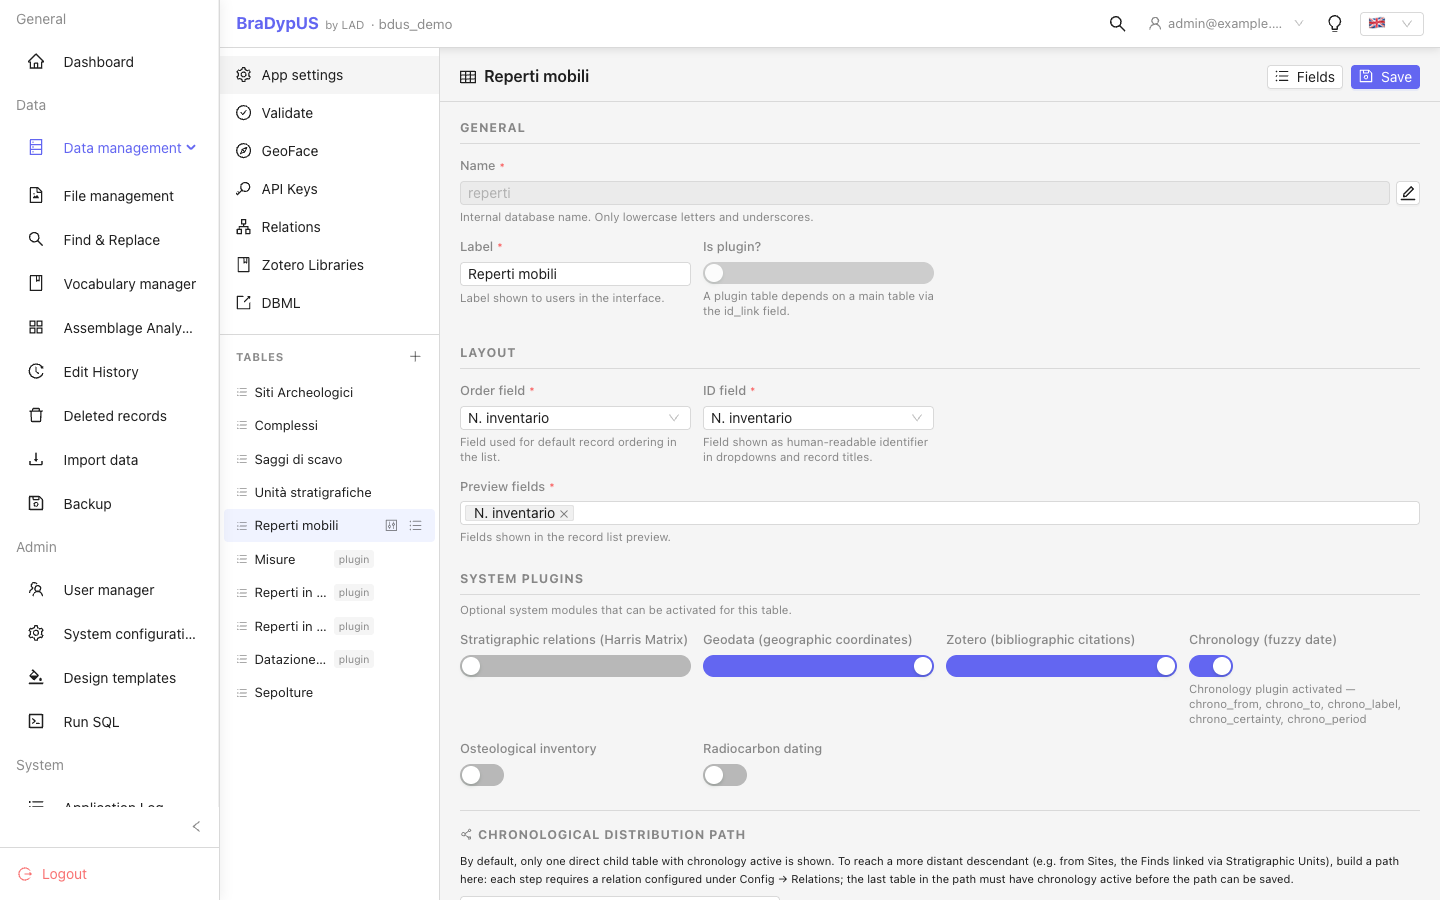
Reordering tables
The order of tables in the list controls the order in the navigation sidebar and in all dropdowns. Drag rows in the table list to reorder them.
Renaming a table
Use the Rename button in the table settings panel. The DB table and all references in the config are updated atomically.
WARNING
Renaming a table that is referenced by other tables (as a plugin, backlink or cross-link) requires manually updating those references too. The Validation panel will report orphaned references.
Deleting a table
Click Delete in the table settings panel. This drops the DB table and removes all config references. This action is irreversible.