
Creating a new application
A new BraDypUS application can be created through the web UI, or from the command line (see below) for unattended provisioning.
Prerequisites
The server must have BRADYPUS_ALLOW_NEW_APP=1 set as an environment variable. In the Docker Compose setup this is already set in docker-compose.yml.
Security notice
BRADYPUS_ALLOW_NEW_APP=1 should be enabled only during initial setup or when intentionally creating new applications. On a shared server, disable it after creation to prevent unauthorised app creation.
Creating the first application
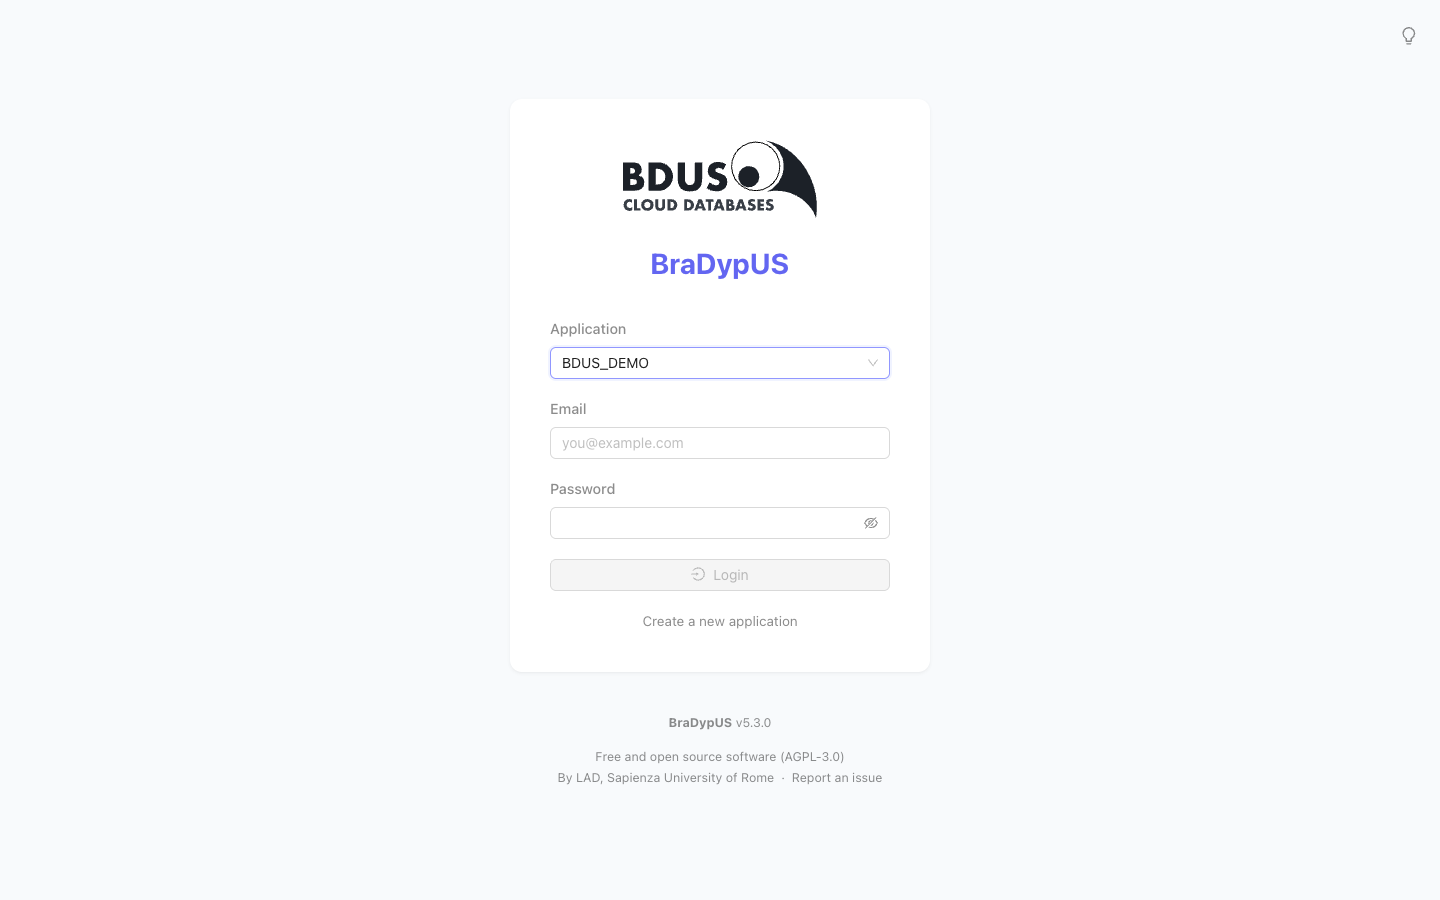
The Create new application link on the login page appears only while BRADYPUS_ALLOW_NEW_APP=1 is set — including for the very first application. Set the flag, create the app, then set it back to 0. (Before v5.4.7 the link also appeared whenever projects/ was empty, regardless of the flag.)
Click the link to open the creation form.
The creation form
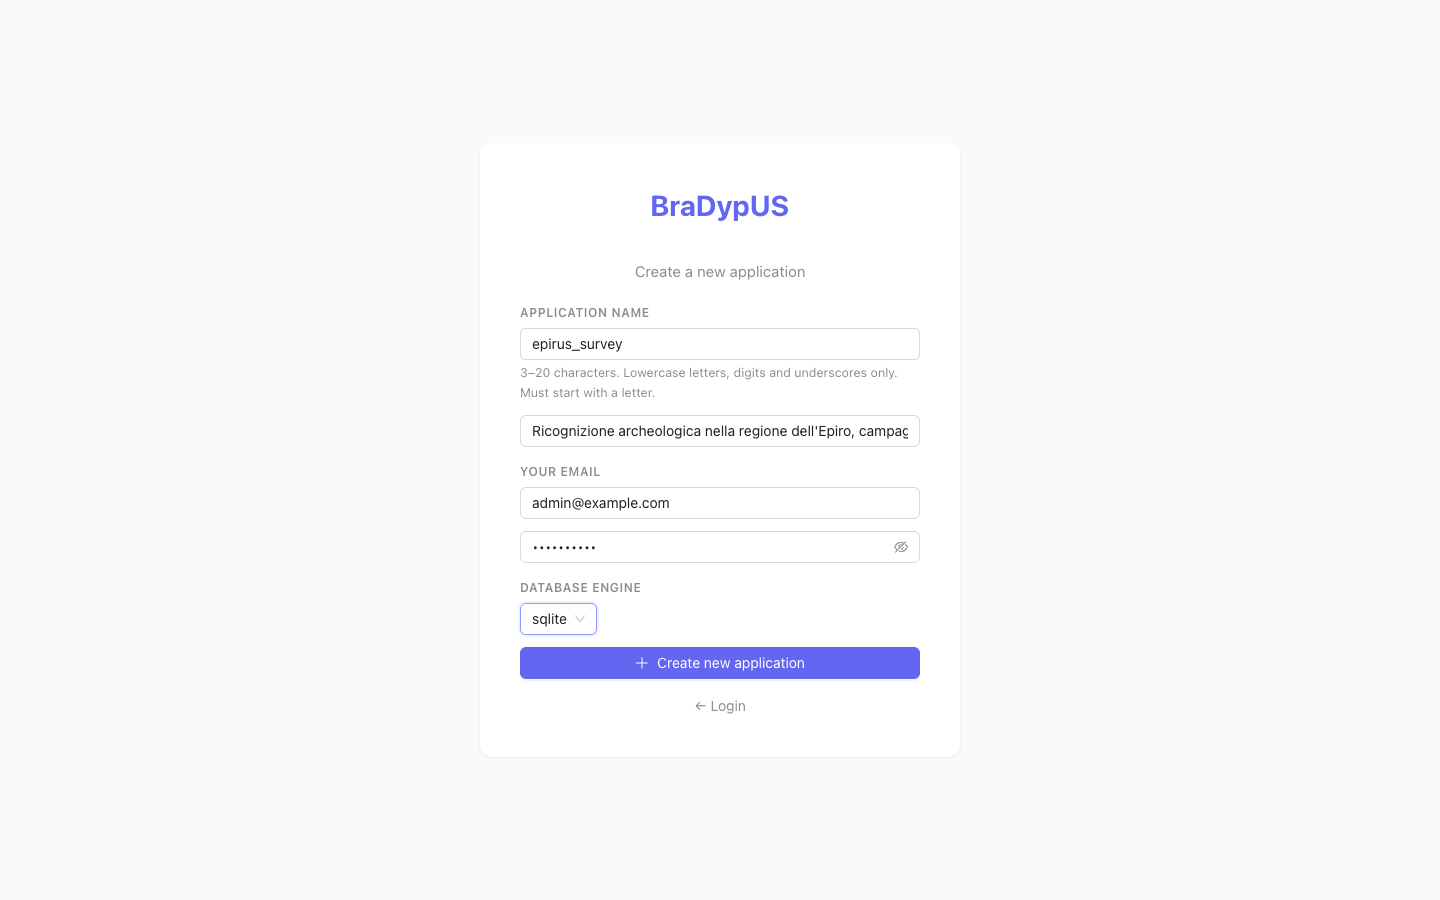
| Field | Description |
|---|---|
| Application name | Unique identifier — see naming rules |
| Application description | Short description of the database |
| Your email | Will be your login email as the initial super-admin user |
| Your password | Will be your login password |
| Database engine | sqlite (no extra config), mysql, or pgsql |
For MySQL and PostgreSQL, additional connection fields appear: host, port, database name, username, password.
SQLite for development
SQLite requires no external database service and is the recommended engine for development and single-user deployments.
From the command line
For unattended provisioning there is a gate-free CLI that does not need BRADYPUS_ALLOW_NEW_APP, an HTTP request, or a container restart:
docker compose exec api php bin/create-app.php \
  --name <slug> --engine sqlite|pgsql|mysql --email <admin> --password-stdin
For pgsql/mysql the target database must already exist. The repo-root helper add-app.sh <instance-dir> --name … --engine … --email … wraps it end to end (reads the instance .env, creates the Postgres database and an isolated per-app role if missing, then runs the CLI inside the api container).
After creation
On success, you are redirected to the login page. Log in with the email and password you entered. The application starts empty — proceed to Setup to create your first data tables.
See App anatomy for what gets created on disk.